Installing Listmonk Newsletter manager
Up until recently i was using Mailtrain, a fantastic opensource newsletter manager built in Node.js. I never had any problems with it, but… it hasn’t seen an update since Sep 2018, the system requirements for the upcoming v2 release seem a little steep. The setup is a little funky to get just right, and the templating system always bothered me how cumbersome it was. Ive had mye eye on migrating away for some time, but never could find the right project to jump ship too.
Listmonk
I’m not sure how I stumbled upon this great project, but I’m super happy I did. While it’s only currently (as of Aug 2020) on version 0.7.0. It has almost all the features i want, and best of all it’s lightweight and super easy to setup. It’s still missing real user authentication and bounce handling, but other than that everything I need is already baked in. It is also under active development, and uses a liberal AGPL-3.0 License. The design looks slick, and it is built in Go as a single binary - so is super easy to install. Oh and there’s great documentation over at the main Listmonk domain.
Super easy Installation
While its relatively straight forward to install, Ill quickly outline how I got this all running on Ubuntu 18.04.
- First of all I created a database (I use Plesk Obsidian on my virtual server, so it’s pretty trivial to create a database via the UI)
- next up I ssh’d into my Virtual server and ran the following commands to setup, and initialize the database:
cd <DIRECTORY TO INSTALL LISTMONK>
wget https://github.com/knadh/listmonk/releases/download/v0.7.0-alpha/listmonk_0.7.0-alpha_linux_amd64.tar.gz
tar -xzf listmonk_0.7.0-alpha_linux_amd64.tar.gz
rm listmonk_0.7.0-alpha_linux_amd64.tar.gz
./listmonk --new-config
./listmonk —install
- I then edited the
config.tomlfile with some admin login credentials and the database credentials I setup in the first step. - Next I needed to add some custom Apache directives in Plesk, to allow ajax requests for my signup form:
Additional Apache directives:
<Location />
	ProxyPass http://127.0.0.1:9000/
	ProxyPassReverse http://127.0.0.1:9000/

	Header always set Access-Control-Allow-Origin "https://mydomain.com"
	Header always set Access-Control-Max-Age "1000"
	Header always set Access-Control-Allow-Headers "X-Requested-With, Content-Type, Origin, Authorization, Accept, Client-Security-Token, Accept-Encoding"
	Header always set Access-Control-Allow-Methods "POST, GET, OPTIONS, DELETE, PUT"

	RewriteEngine On
	RewriteCond %{REQUEST_METHOD} OPTIONS
	RewriteRule ^(.*)$ $1 [R=200,L]
</Location>
- Then custom nginx directives in Plesk, to compress uploads:
Additional nginx directives:
location /uploads {
	include  /etc/nginx/mime.types;
	root /;
	gzip_static on;
}
- Now we need to start listmonk, and obviously we want to use systemctl to keep it always running:
nano /etc/systemd/system/listmonk.service
- I added the following to the newly create service:
[Unit]
Description=ListMonk
Documentation=https://listmonk.app
After=system.slice multi-user.target postgresql.service

[Service]
User=sweetp
Type=simple

StandardOutput=syslog
StandardError=syslog
SyslogIdentifier=listmonk

WorkingDirectory=/var/www/vhosts/mydomain.com/newsletter
ExecStart=/var/www/vhosts/mydomain.com/newsletter/listmonk --static-dir=static

Restart=always
RestartSec=10

[Install]
WantedBy=multi-user.target
- Then
control xto save the service. the--static-dirparamater is used so I can upload my own templates into thestaticfolder. - With the systemctl service ready, we can reload systemctl and start listmonk!
systemctl daemon-reload
systemctl enable listmonk
systemctl start listmonk
- All thats left is to login using the admin credentials we set in the
config.tomlfile, and enter all our custom settings on theSettingstab:
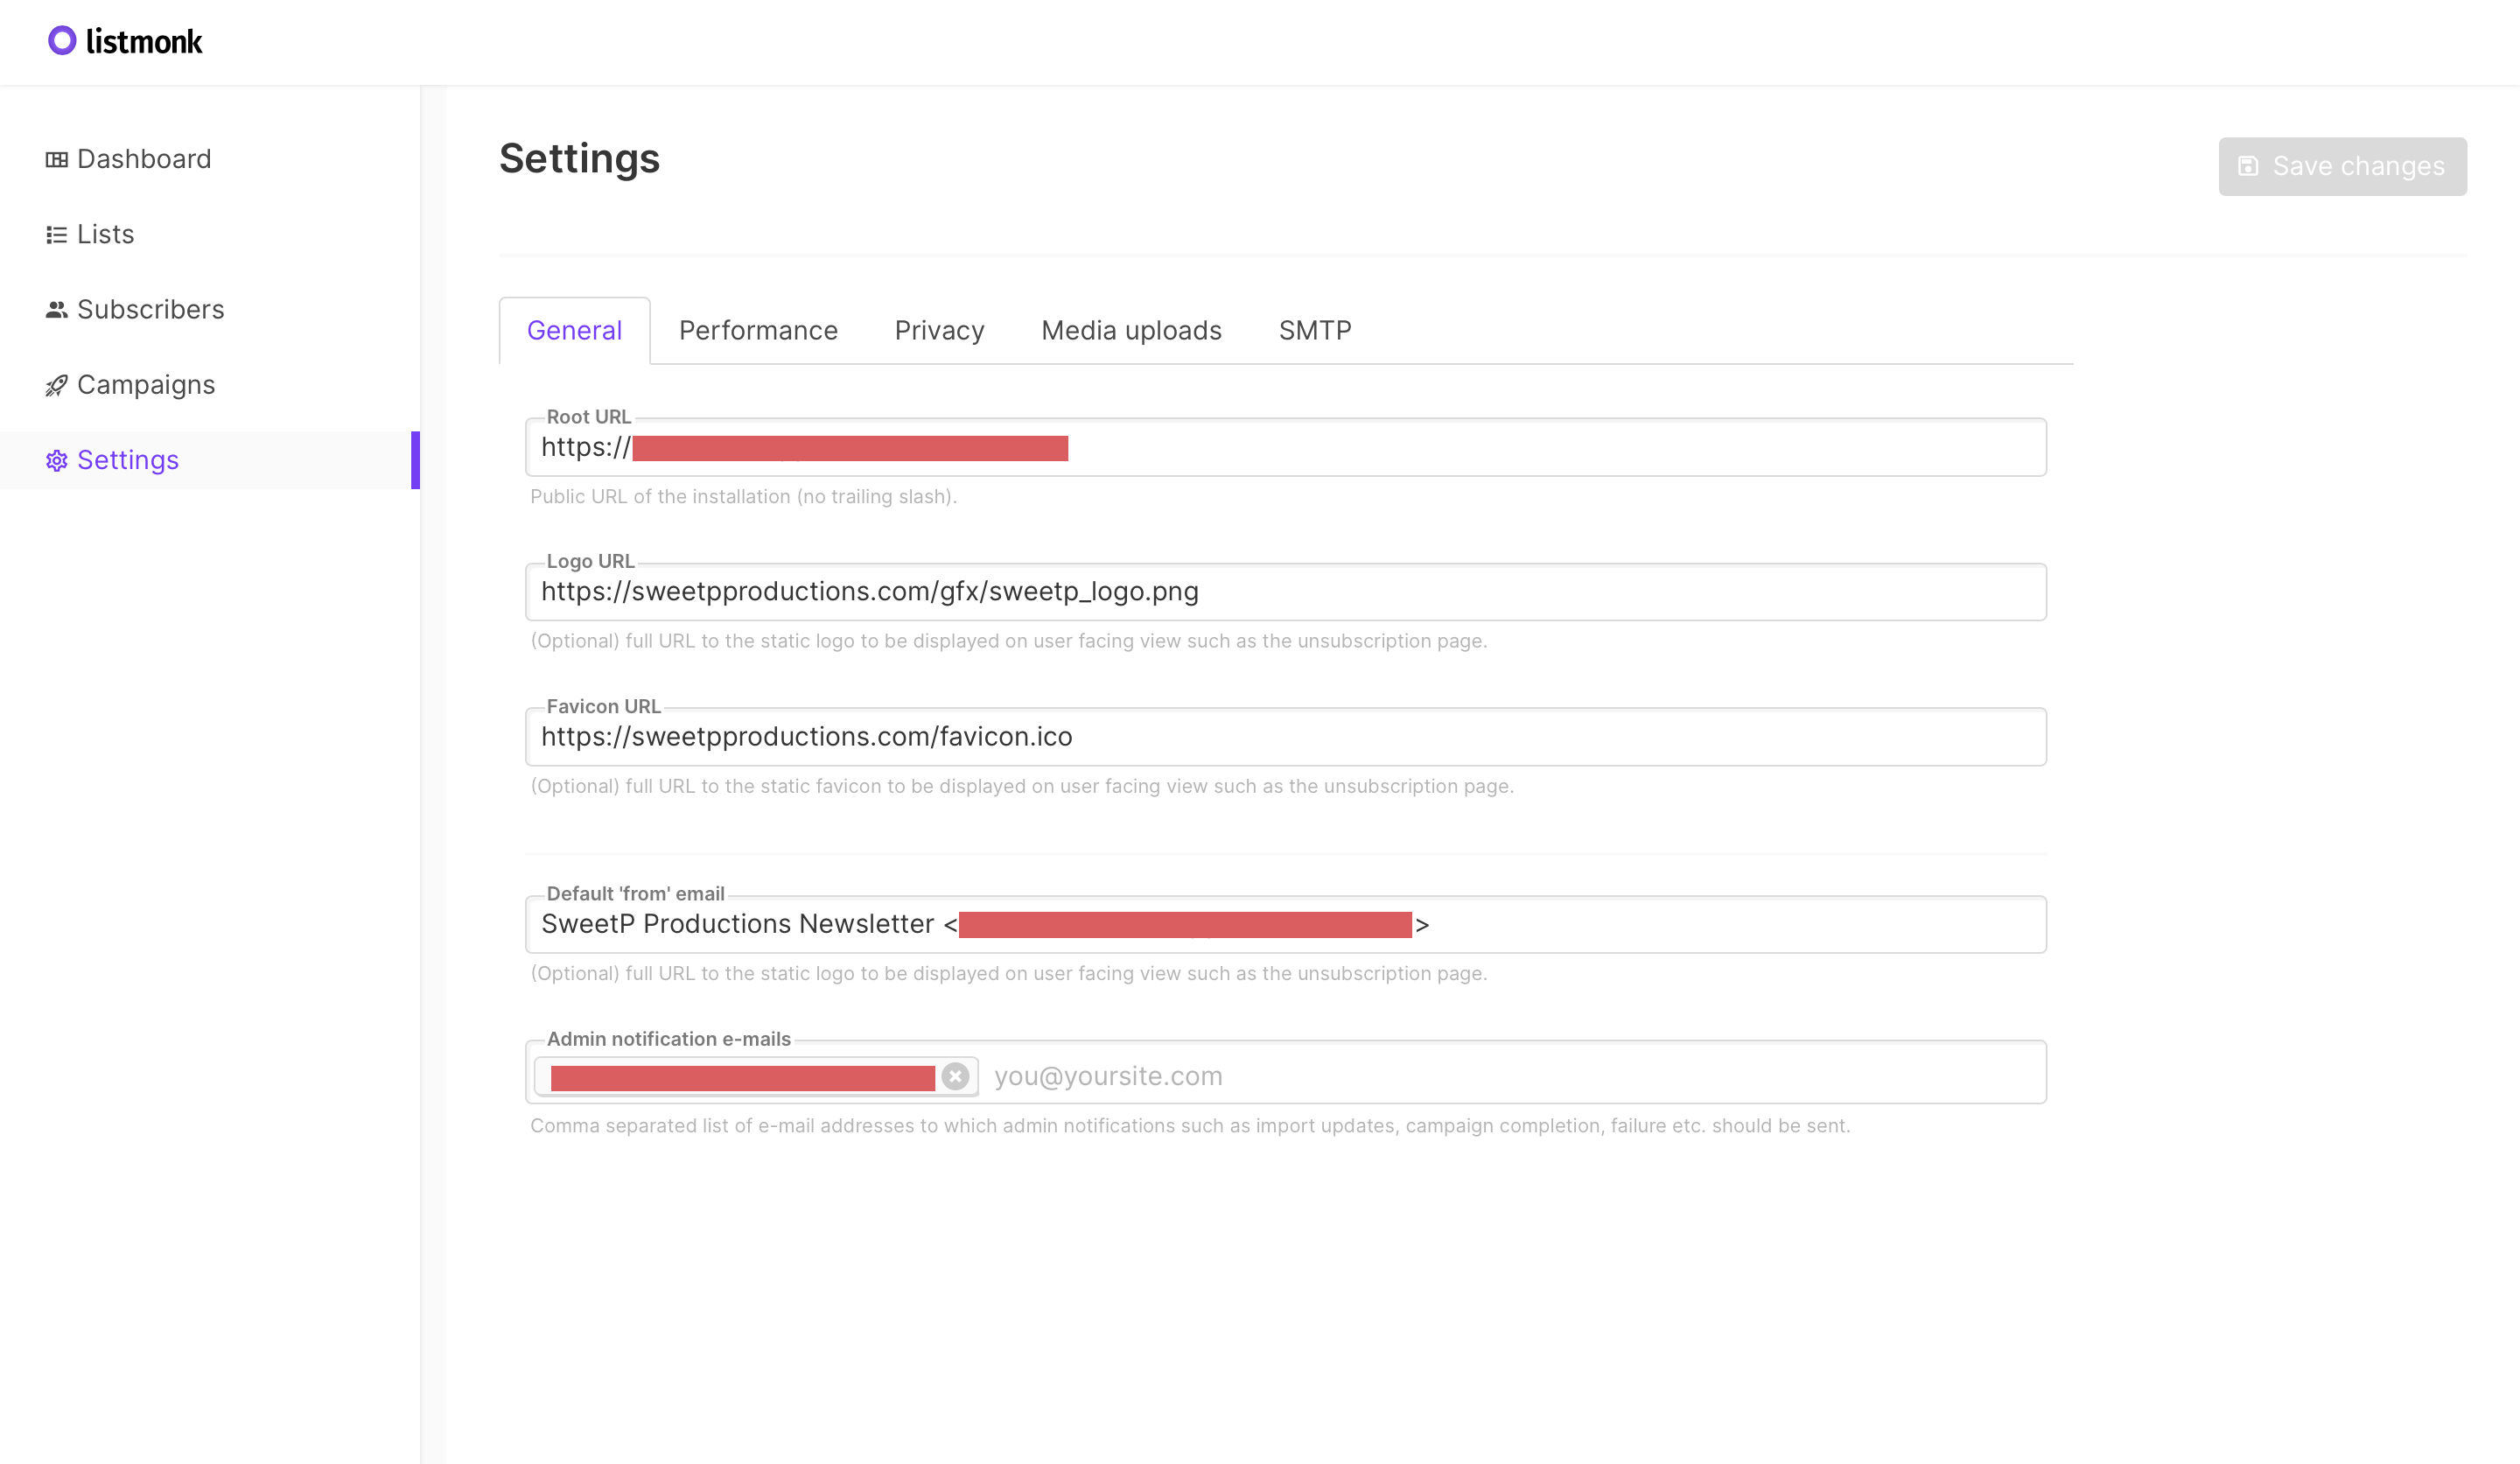 Listmonk settings - General tab
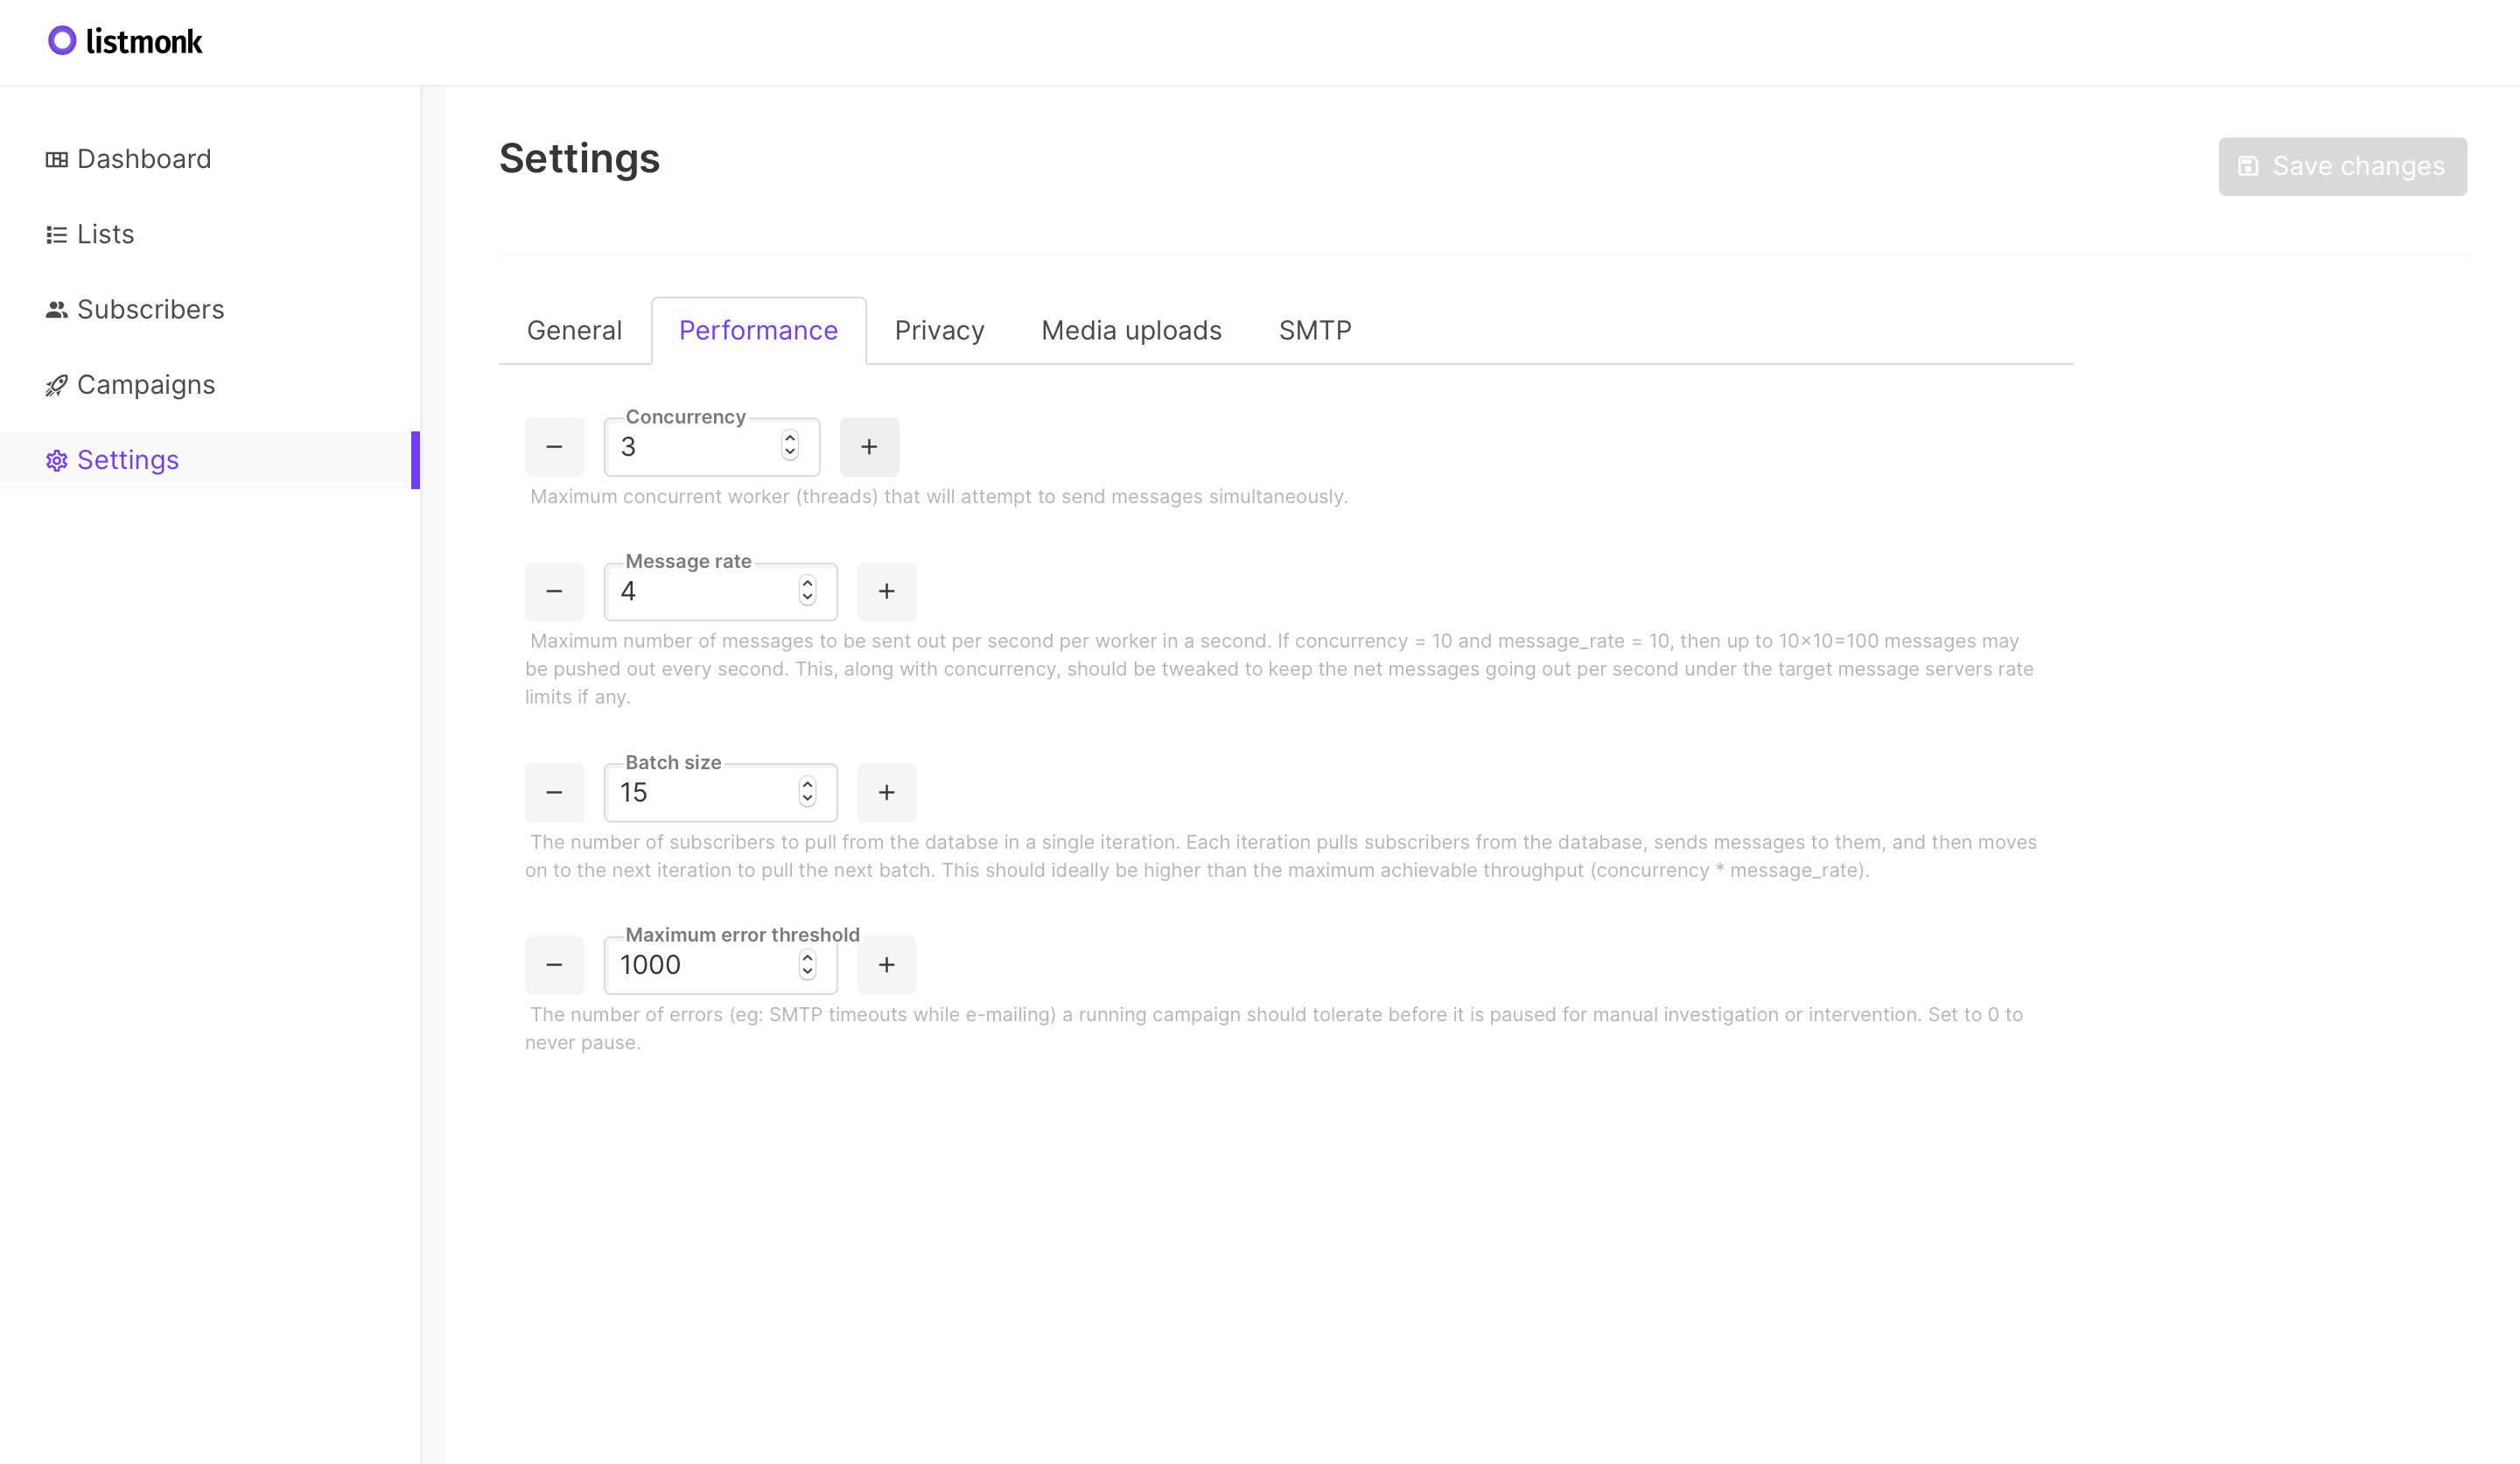 Listmonk settings - Performance tab
 Listmonk settings - Privacy tab
 Listmonk settings - Media uploads tab
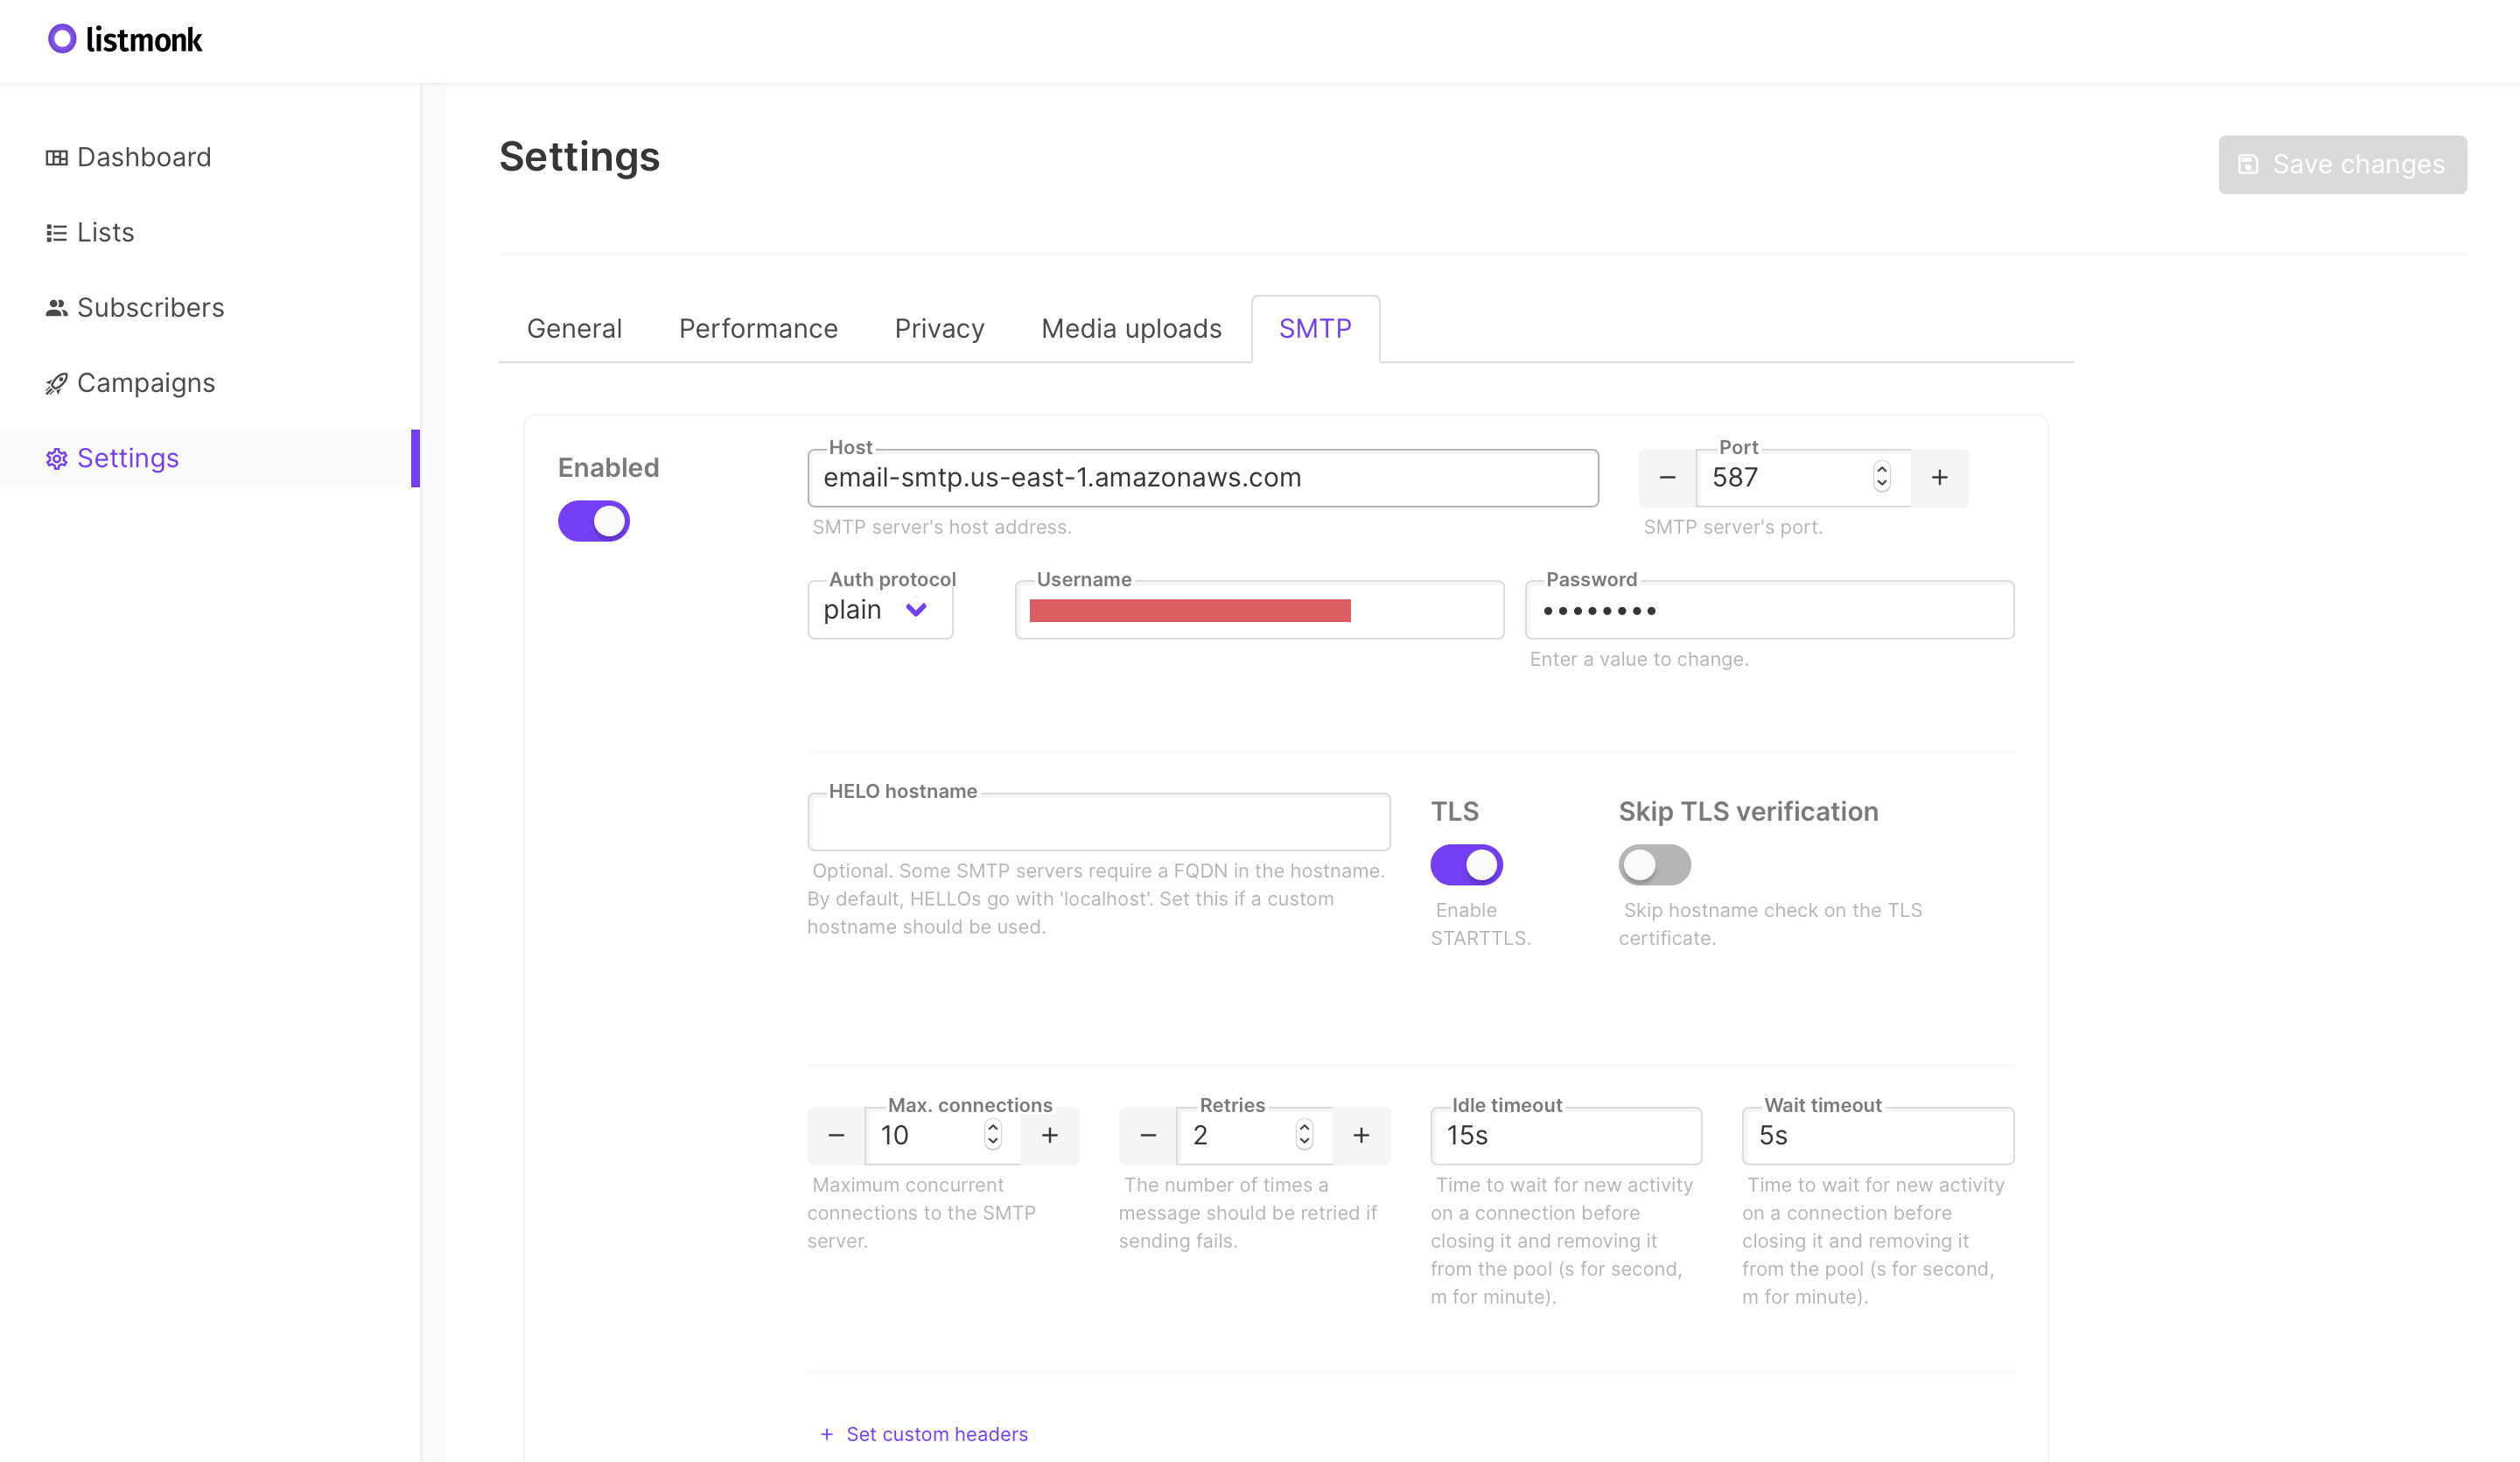 Listmonk settings - SMTP tab
Take care to add the following settings for the Media Uploads tab:
Provider:			filesystem
Upload path:		./uploads
Upload URI:			/media/uploads
- For bonus points, you can easily generate a signup form to add to your main website from the
Lists > Formstab.
And thats all there is to it, now you can create campaigns and email all your subscribers about all your great deals!